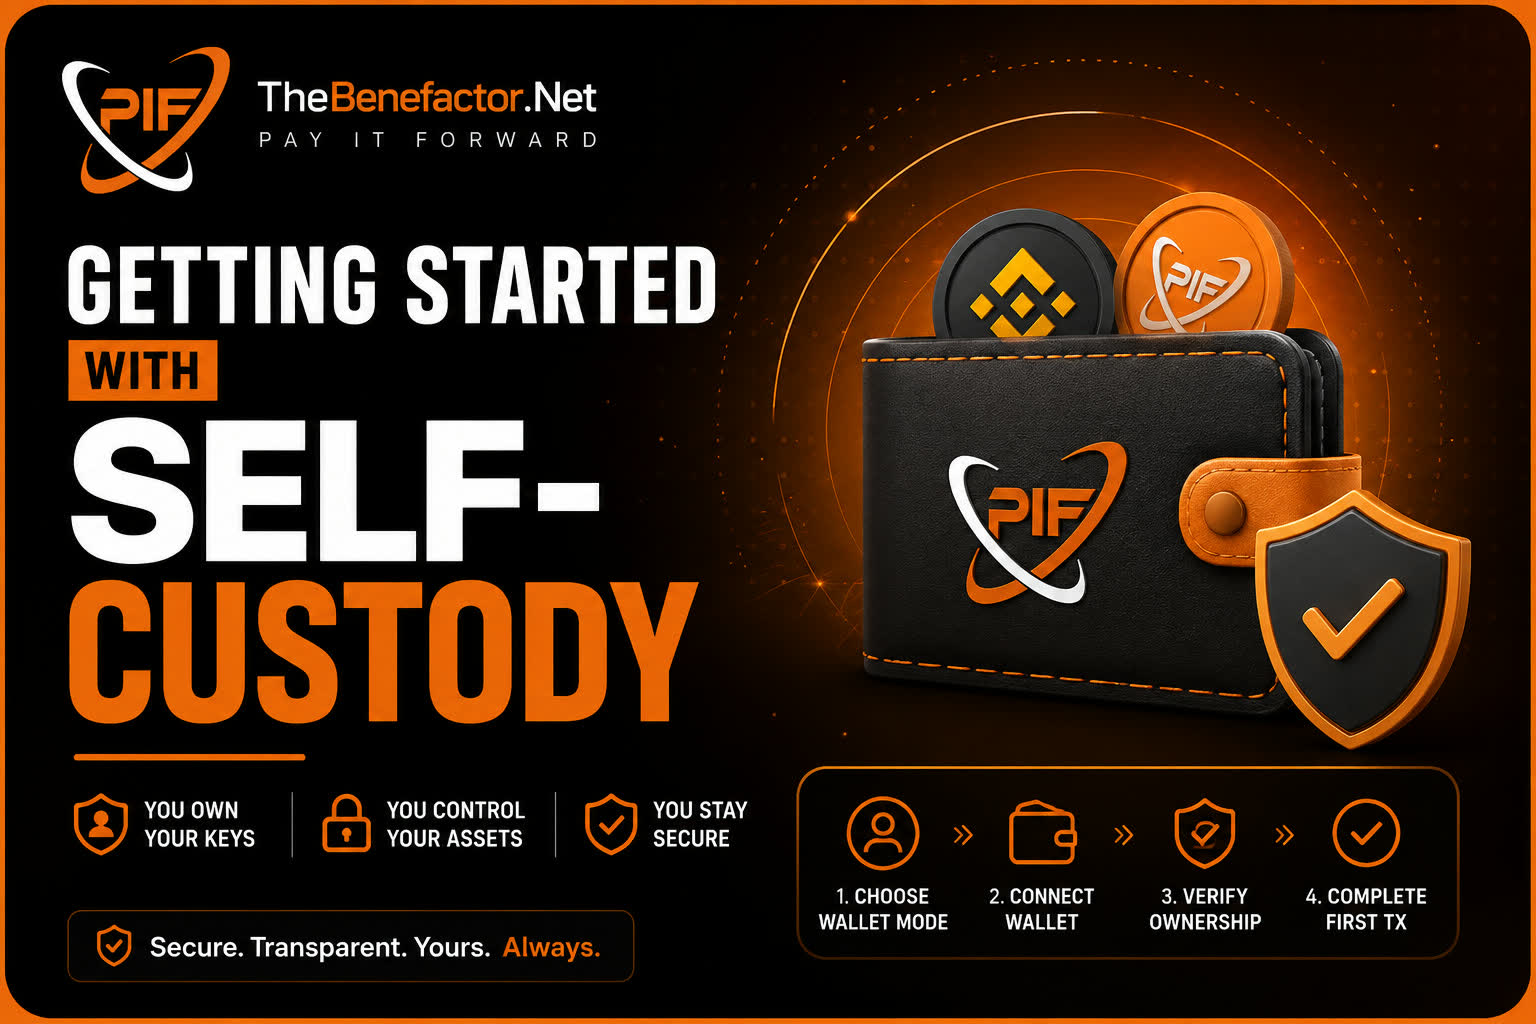
A short checklist. For deep detail, each step links to a full guide.
Before you begin
Have ready:
- ✅ An account on TheBenefactor.Net (email verified as required)
- ✅ A desktop browser with MetaMask (recommended today)
- ✅ A little BNB for network gas fees on BNB Chain
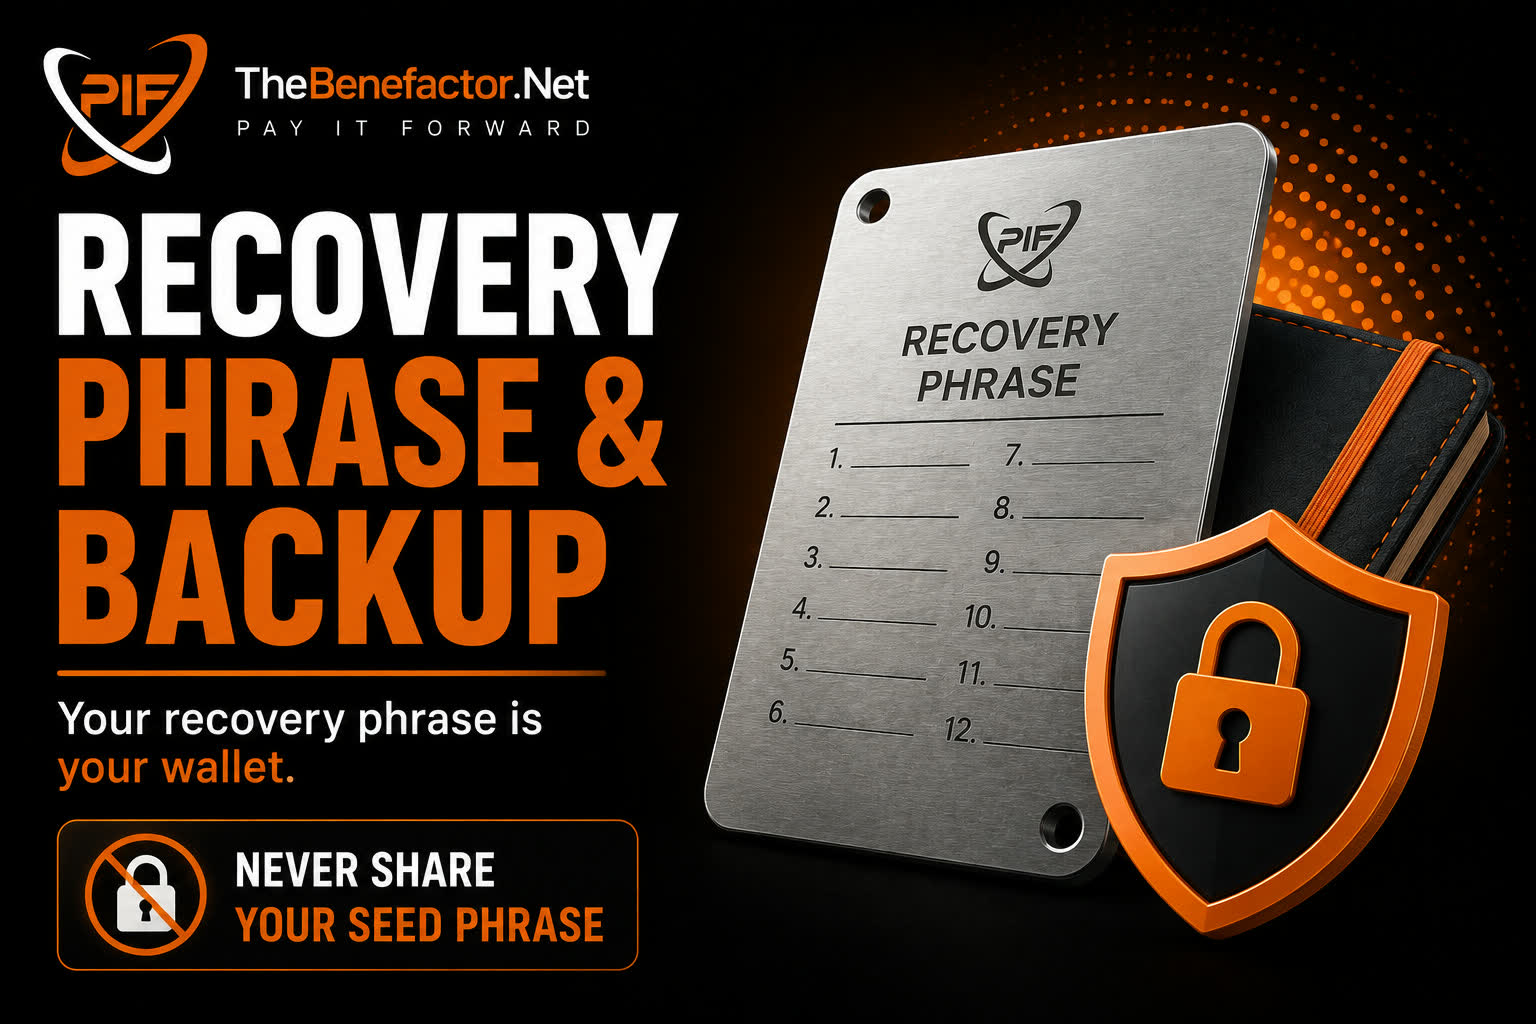
- ✅ A quiet moment to write down your recovery phrase if creating a new wallet
⚠️ Self-custody must be enabled on the platform for new switches. If you don’t see the option, it may still be rolling out.
✅ Step 1 — Choose your wallet mode
- Open Wallet Settings (or wallet onboarding if it’s your first pick).
- Select Self-Custody / External.
- Confirm.
If you’re leaving managed mode, you usually must:
- Empty managed balances first (withdraw/transfer), and
- Have no blocking pending operations (e.g. pending withdrawals / certain payments).
Full rules: Wallet Modes.
✅ Step 2 — Connect your wallet
- Click Connect wallet.
- Approve the connection in MetaMask.
- Switch MetaMask to BNB Chain if asked.
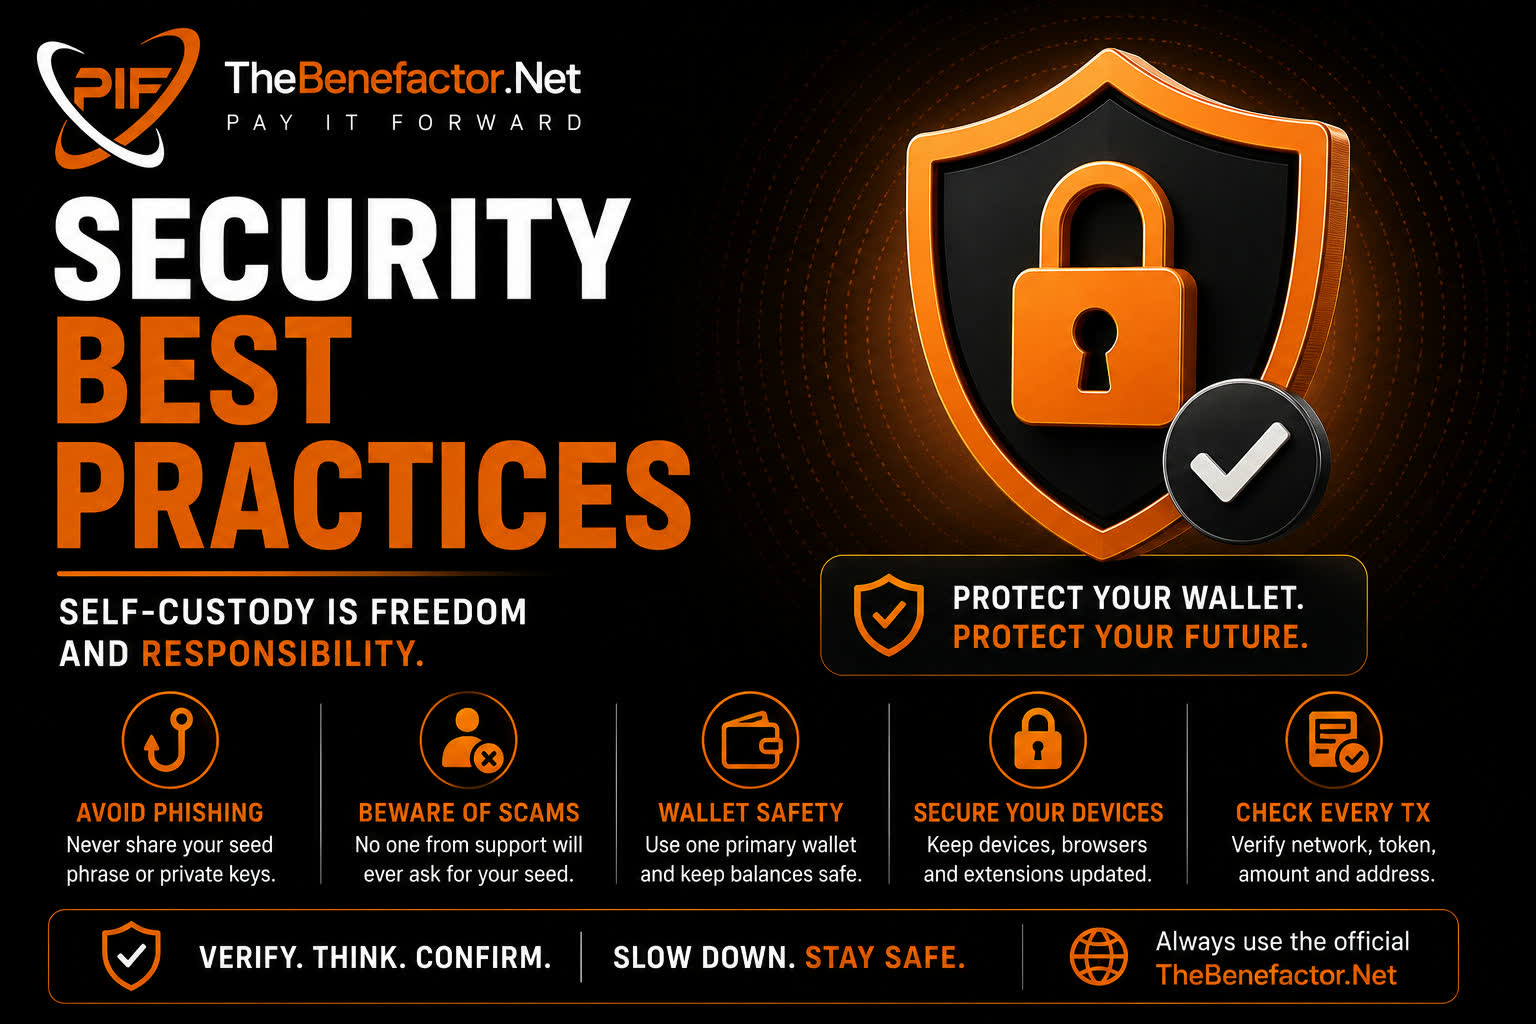
Use a wallet you control. Never connect a wallet someone else gave you “to help.”
✅ Step 3 — Verify ownership (SIWE)
- When prompted, sign a message in MetaMask.
- This proves you control the address.
- It does not send tokens and does not share your seed phrase.
After success, that address is your primary verified wallet.
Details: Connecting & Verifying.
✅ Step 4 — Complete your first transaction
Pick something small:
| First action | What happens |
|---|---|
| Receive a reward | After activity, tokens may arrive on-chain to your primary address |
| Send a tip | You confirm a PIF transfer in MetaMask |
| Pay a small fee | e.g. lottery ticket, boost—confirm in MetaMask, site records the tx |
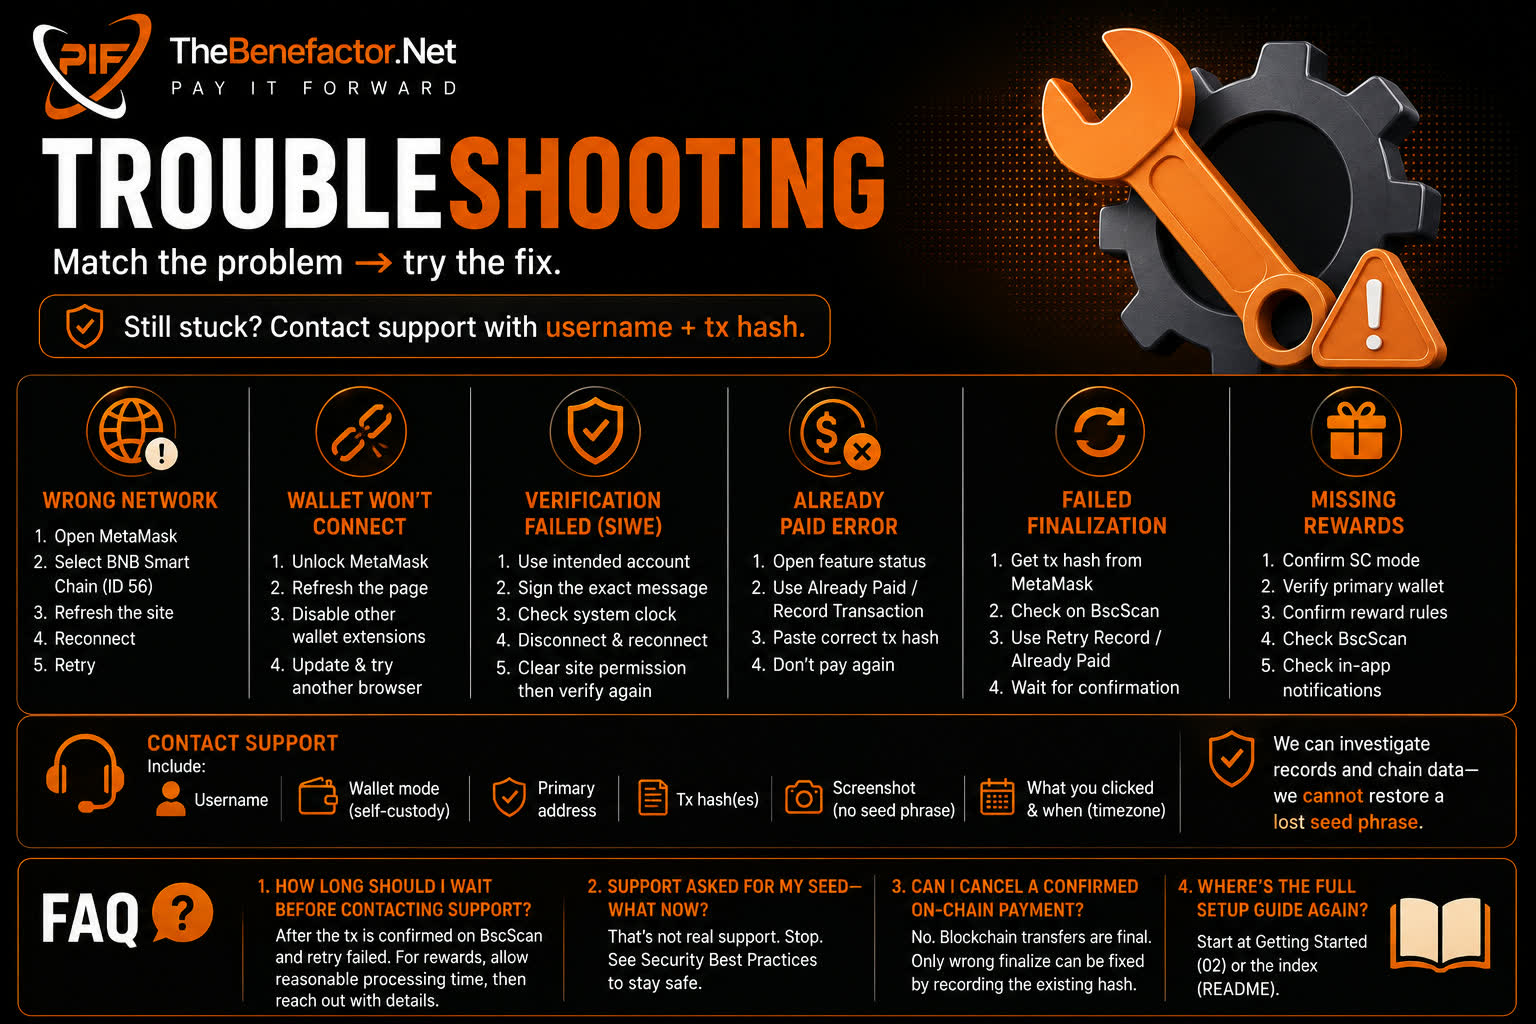
If MetaMask succeeds but the site shows an error:
- Do not pay again.
- Use “Already paid?” / paste your BscScan tx hash if available.
- See Troubleshooting.
Quick success checklist
- ✅ Mode = Self-Custody
- ✅ MetaMask on BNB Chain
- ✅ Primary address verified (SIWE)
- ✅ Connected account matches primary
- ✅ You understand: you approve every spend
You’re set. 🎉
FAQ
1. How long does setup take?
Usually a few minutes if MetaMask is already installed.
2. Do I need PIF before I start?
Not to connect/verify. You’ll need PIF (and a bit of BNB for gas) to send or pay fees.
3. Can I finish later?
Yes. Come back to Wallet Settings, reconnect, and complete verification if needed.
4. What’s the #1 beginner mistake?
Paying twice when the chain succeeded but the page failed. Always check BscScan first — see Troubleshooting.